 |
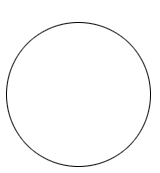
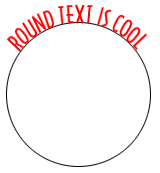
 Create a new image and then draw a circle with
the marquee tool. Stroke the selection with a
thin black line (EDIT...STROKE...1 from CENTER).
 |
 |
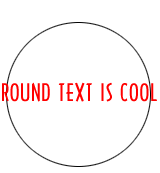
 Now create a new layer and place your text in the
center of the circle.
 |
 |
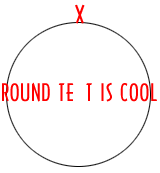
 Draw a box around the middle letter and drag it
straight up to the top of the circle. This is
your midpoint.
 |
 |
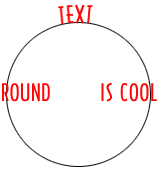
 Continue to move each letter up, but now you will
need to rotate each letter so it fits along the
circular path. With Photoshop 3.0 click
IMAGE...ROTATE...FREE, but in 4.0 use the free
transform tool (CTRL+T).
 |
 |
 Continue to do this until all of the letters are
placed around the circle.
 |
 |
 Now delete the layer that contains your circle,
and crop your image to size. This takes a little
bit of practice to make it look right, but after
a few trys you should be a pro at it. This tip is
the same for creating text on the bottom of the
image as well.
 |


